5 Tips to Better the Craft: FOOD! | Leighton DaCosta, Tampa Beauty Photographer

When scheduling a shoot longer than three hours, some kind of refreshment should be provided. For sessions longer than 6 hours, expect to have two to three extended breaks and on set snacks.
Having refreshments will help keep up the energies of all involved. Here are some tips when it comes to setting up craft services.
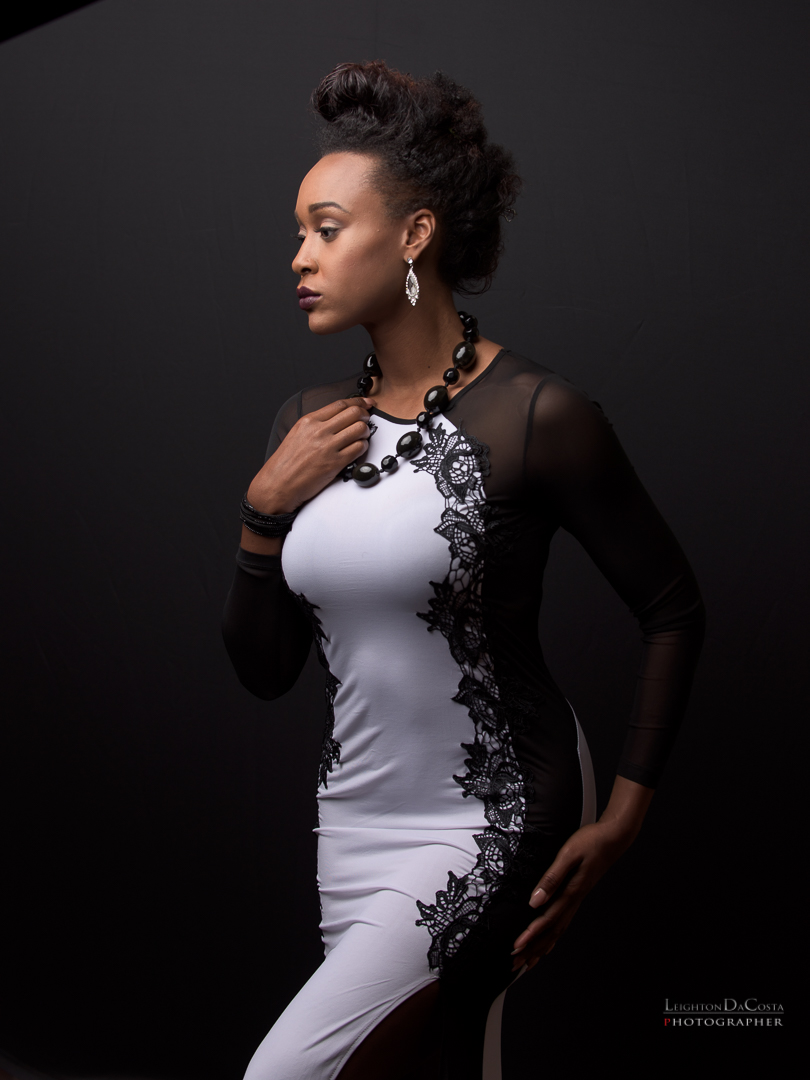
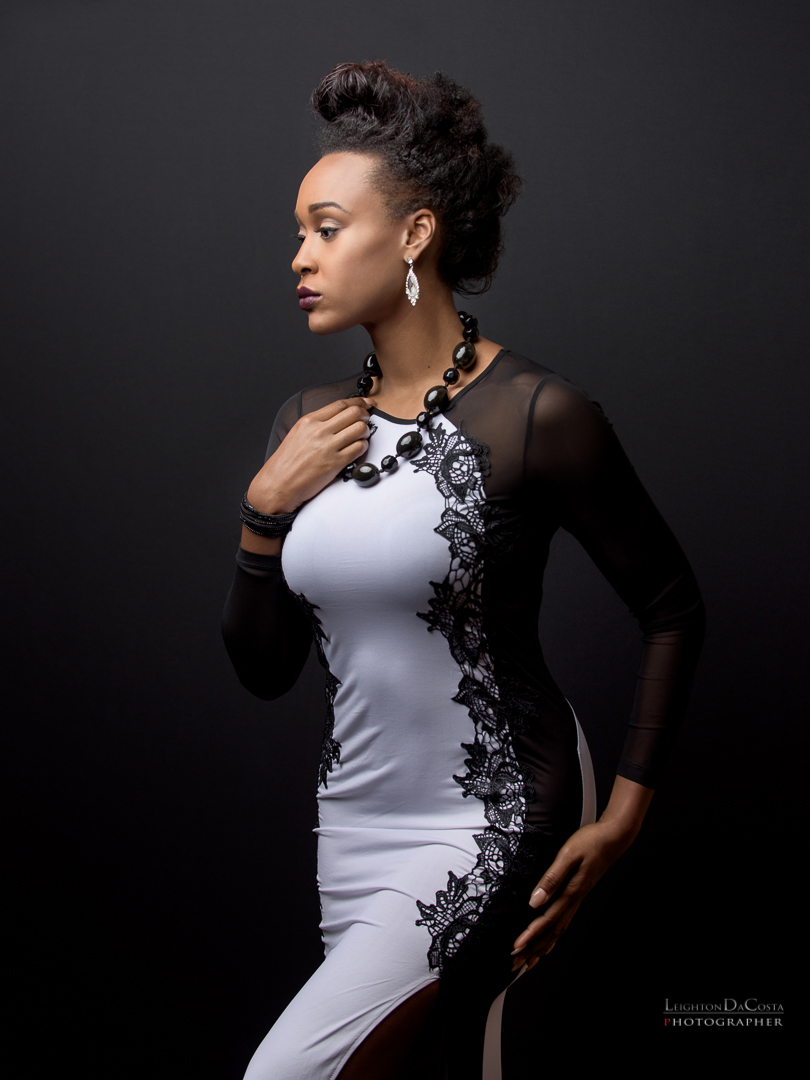
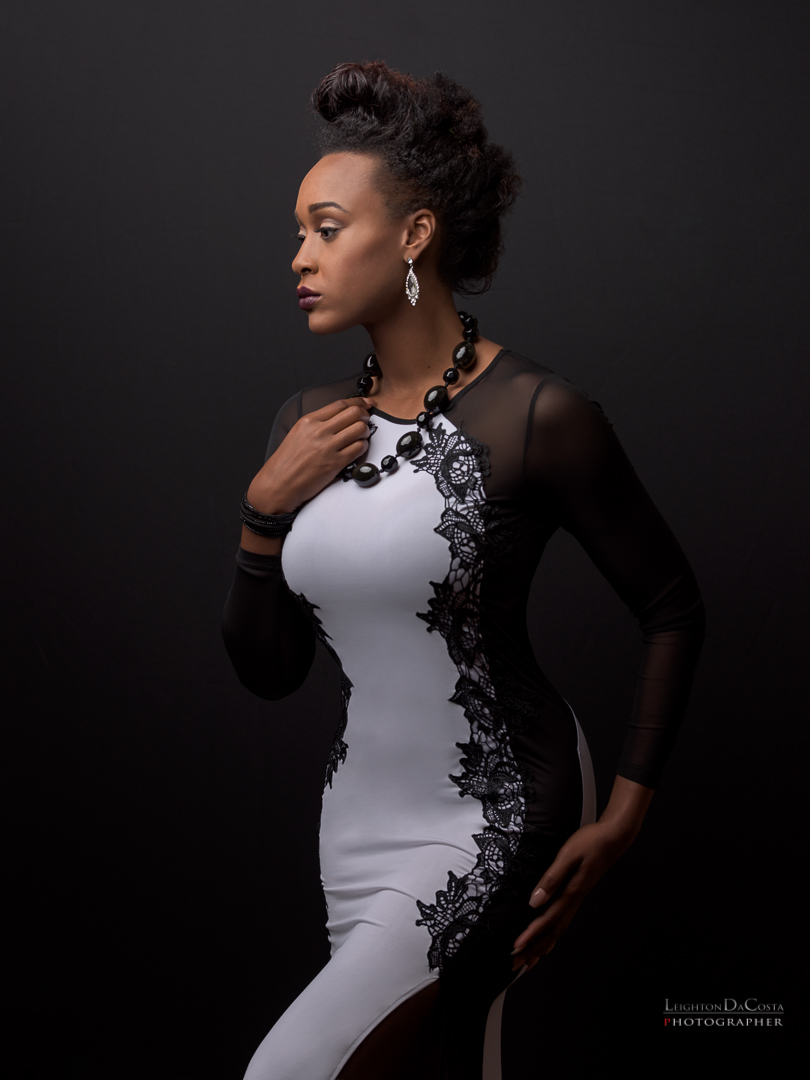
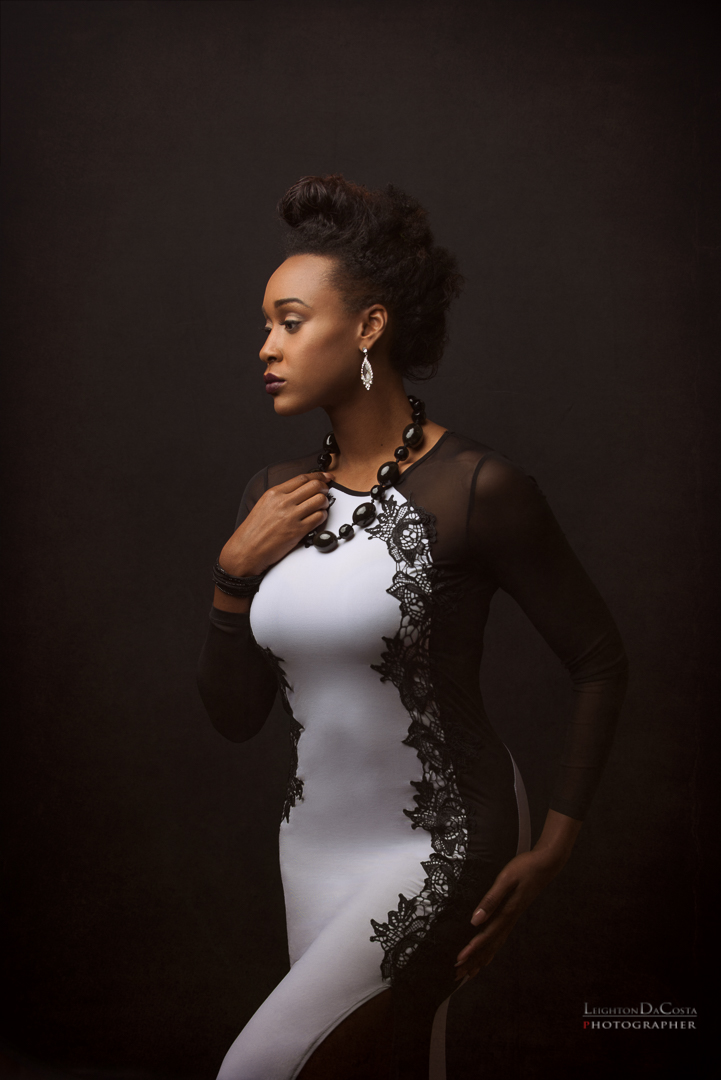
Exposure and Style | Leighton DaCosta, Charleston Photographer

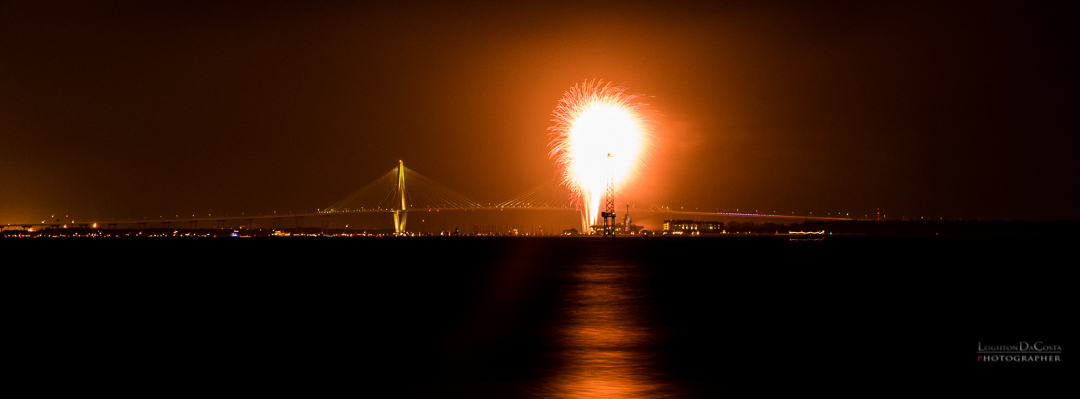
What I learned about photographing fireworks | Leighton DaCosta, Charleston Photographer

Charleston Harbor July 4, 2016.
This is a 17 frame HDR Merge done in Adobe Lightroom.
I do not normally photograph fireworks, because I would rather just sit, watch, and enjoy them. This year for the Fourth of July, I was fortunate enough to have a great vantage point to watch the fireworks over most of the Charleston area. The one I came to watch, was the big one over the U.S.S. YORKTOWN, a retired, World War II Aircraft Carrier from the US Navy.
The fireworks were absolutely beautiful and I wanted to share a couple of things I learned that night for those wanting to do fireworks photography.

Straight out of camera Shot of the fireworks over Charleston Harbor
Known Knowns
Slow Shutter Speeds. When Photographing moving luminous objects, to give a sense of motion, you are going to want to use a slow shutter speed to better capture the trailing light. I know many who photograph around 1-5 second exposures. Because of the distance, and the width of the lens I was using that night, I was between 15-25 seconds in exposure time.
TRIPOD!!! Bring a tripod to give you the best stability when doing long exposures. Not only will it keep your camera stable, but it will allow you to take several images with identical frames that makes post production easier.
Mirror Up. While I had already planned on using the live view function on my Nikon D810, I knew that I was only going to use it for precision focusing. In my experience, when using long exposures over 15 seconds, the mirror slap in a DSLR can cause enough vibrations to cause motion blur in distant luminous objects like stars and fireworks. For ideal stillness, photograph using a laptop and a tether cable, so you do not have to touch the camera at all.
Known UNKNOWNS
- Lens Selection. When I first thought about about shooting the fireworks, I really wanted a wide perspective, so had all intent on using the Rokinon 14mm f/2.8 manual focus lens. I absolutely LOVE that lens. Something told me though, to bring my Nikon 24-70 f/2.8 lens; and it might have served me better to have brought my 70-200mm f/2.8 lens as well. due to the distance that I was photographing from. For future shoots, I plan on bringing something really wide, and something really tight, in addition to my intended lenses for an additional perspective.
Straight out of camera shot; you may not know when something may go off causing a little more light than expected.
UNKNOWN UNKNOWNS
- Wind and Weather. Wind and weather will play a part in which way your streams actually fall and how long the smoke stays around. With digital photography, you can do some immediate correction, but with film photography not as easy. I would advise carrying a simple point and shoot with manual functionality that can slow the shutter down enough to let you know what the wind and smoke are doing.
- Ambient/City Light. When photographing fireworks in the distance, you will have a disadvantage of having bright city lights in the background as well, which will compete with your fireworks. Consider adjusting your f/stop to reduce the highlights of the lights.
While there is much more that goes into capturing fireworks, these are just a few things that I took into consideration and wanted to share with you. I had a lot of fun and can't wait to do this again!
LD
Tips for Travel Photography While on Vacation | Leighton DaCosta Photographer
“The best camera to have on vacation is the one that is with you! Don’t get so caught up in getting the picture that you miss the experience. ”

The little touches add to the experience. Remember vacation is about relaxation, not work!
I often get asked one of two questions:
- What kind of camera should I buy/bring while on vacation?
- How do I take great shots while I'm on vacation?
1. What camera should you buy/bring.
Well here's the truth. The best camera for vacation is the camera that you have with you. Honestly, that could be your iPhone, a point and shoot, or even a high end DSLR. The actual camera doesn't matter as much as the experience that you are enjoying while you are on your vacation.
For ME that breaks down into two categories. Quality and Functionality. When it comes to quality, MOST digital cameras on the market today will give you GREAT images. So really, I look for functional differences.
These are the things that I would look for.
- Easy for me to carry around (accessible)
- Can fit in a pocket or a small bag (size)
- Can get banged around and wet (durability)
- If lost/stolen, it's not the end of the world (affordability)
For point and shoot cameras, my two recommendations are the Nikon AW130 and the Fuji Finepix XP90 which are both under $500 and will give great images. They can even go underwater. For those that want a little more control, and willing to invest a little more, look at that Nikon AW1 Series. These are just my suggestions based on what is on the market at the time of this post.


2. How to take better photos.
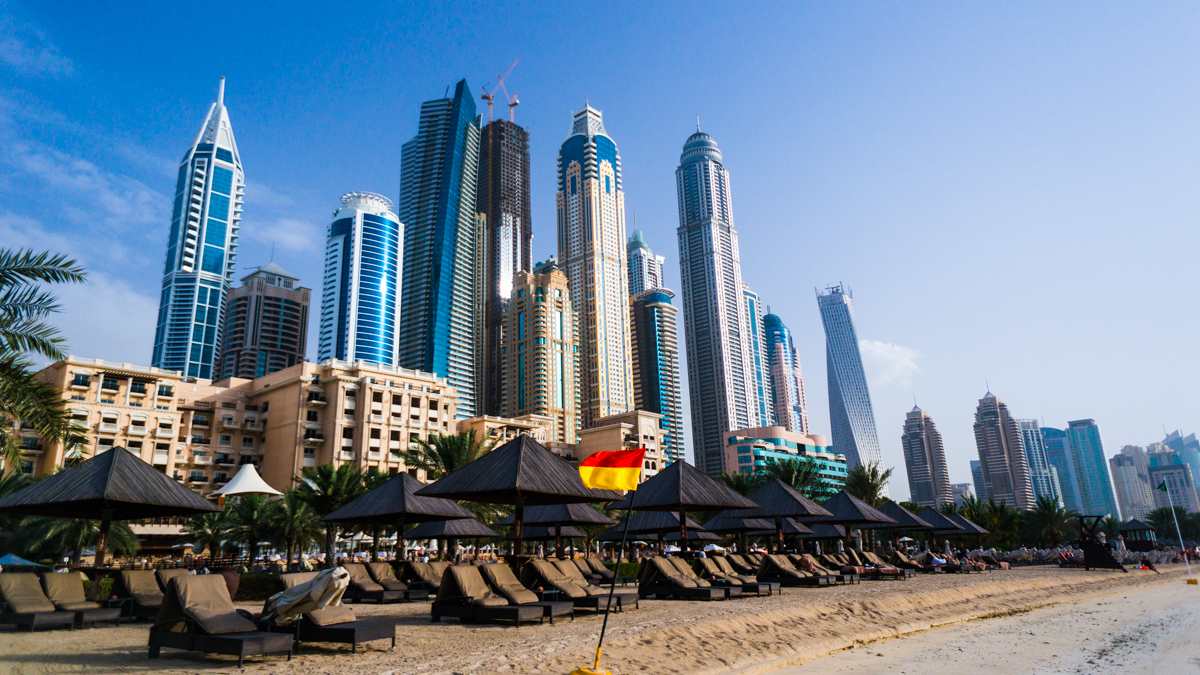
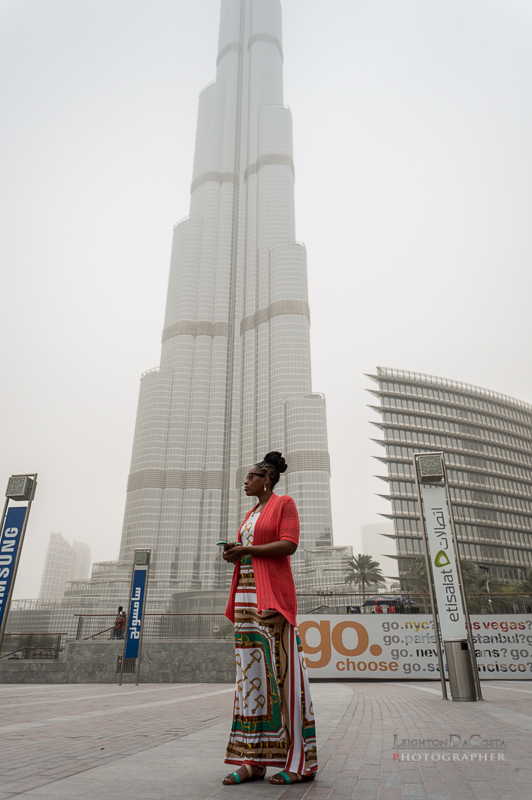
The above images (unedited) were taken in Dubai with a SONY NEX-6, now replaced with the PHENOMENAL SONY a6300. These photos are pretty much the same photos I took, straight out of camera. Most are done with a 16mm f/2.8 or the 50mm f/1.8 E-Mount Lens. When it comes to to travel photos on vacation, here are some tips.
- EXPERIENCE FIRST, PHOTOS SECOND. Remember it's best to have an experience to remember and then a photo to bring you back to THAT memory.
- Pay attention to your lighting. Some times of day are far better than others. Morning skies in most places of the world, have more clouds than evening sky. The clouds can provide a dynamic contrast to your subject(s). When photographing food, I prefer for my lighting to be coming slightly from behind so that I can see shadows to the front and give the food a more appealing texture.
- Go to extremes. I prefer very wide, or very tight. so usually I am photographing with a wide lens like a 16mm or something that has a tighter perspective or can give a macro effect.
#BONUS when possible, with outdoor shots, consider using a Circular Polarizer Filter on your lenses to reduce glare and reflections.
One last thing. Remember HAVE FUN! You're on vacation...not work!
LD
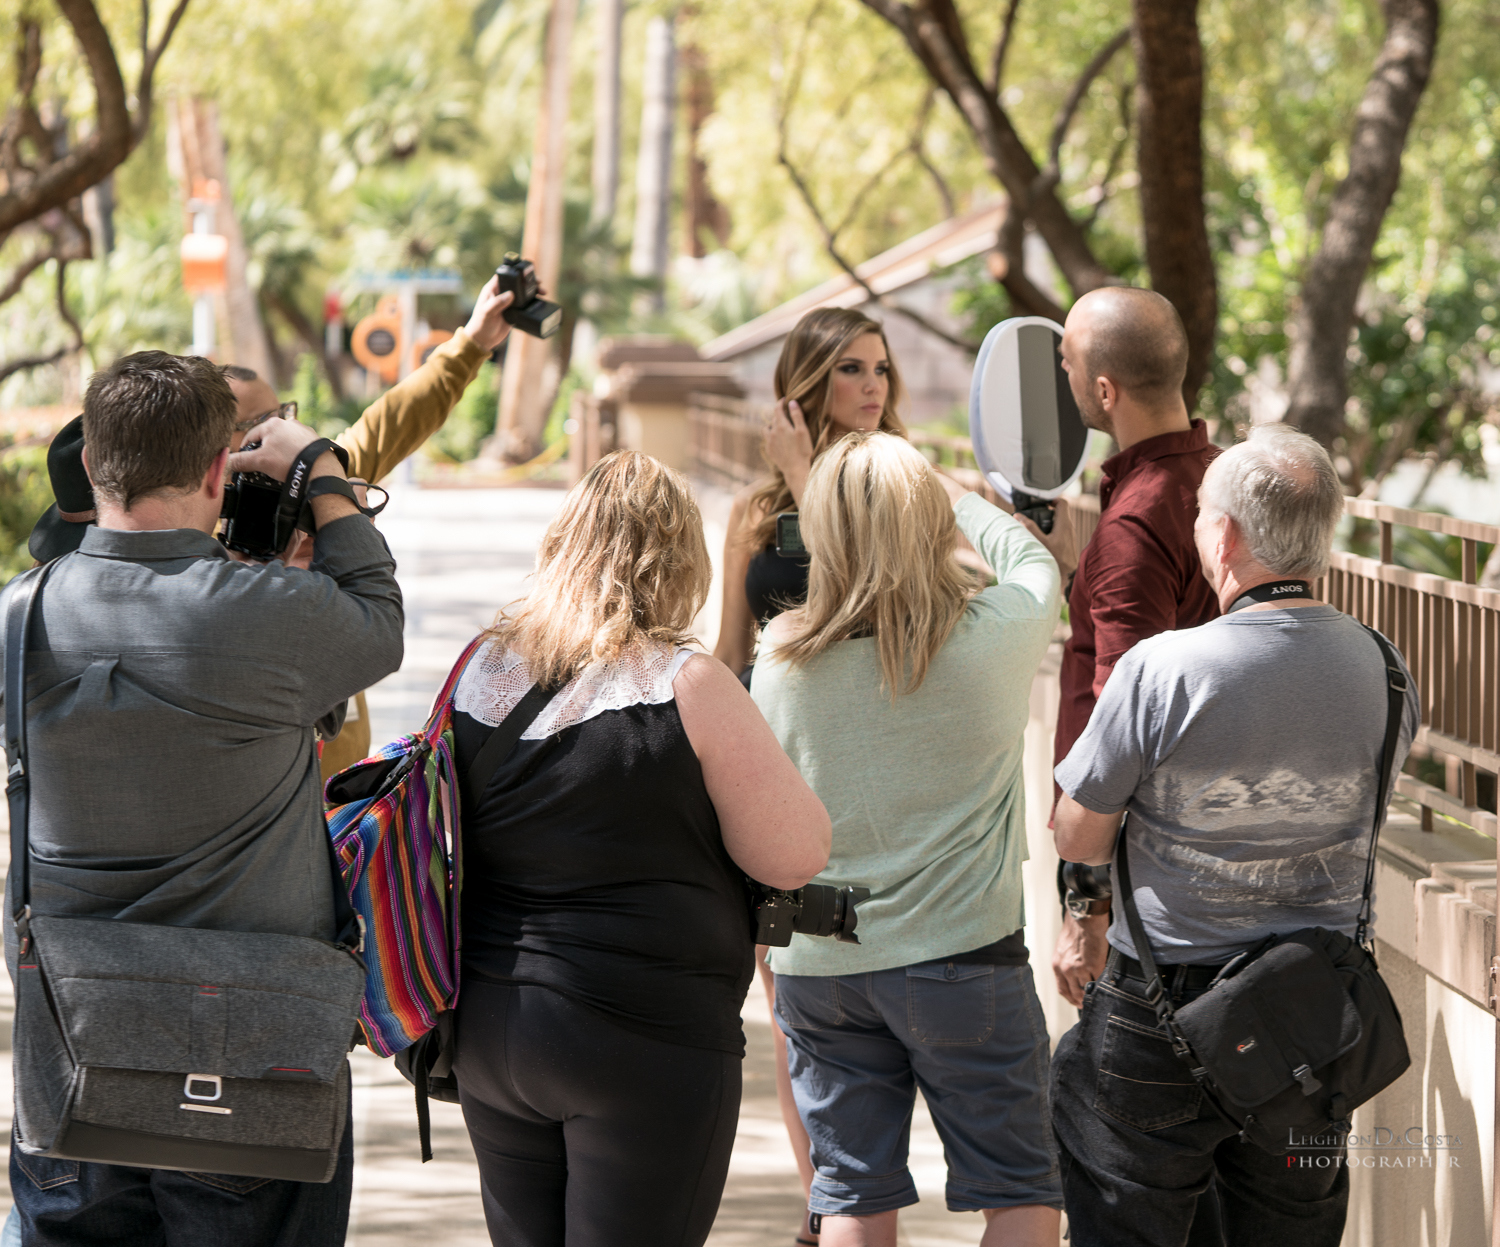
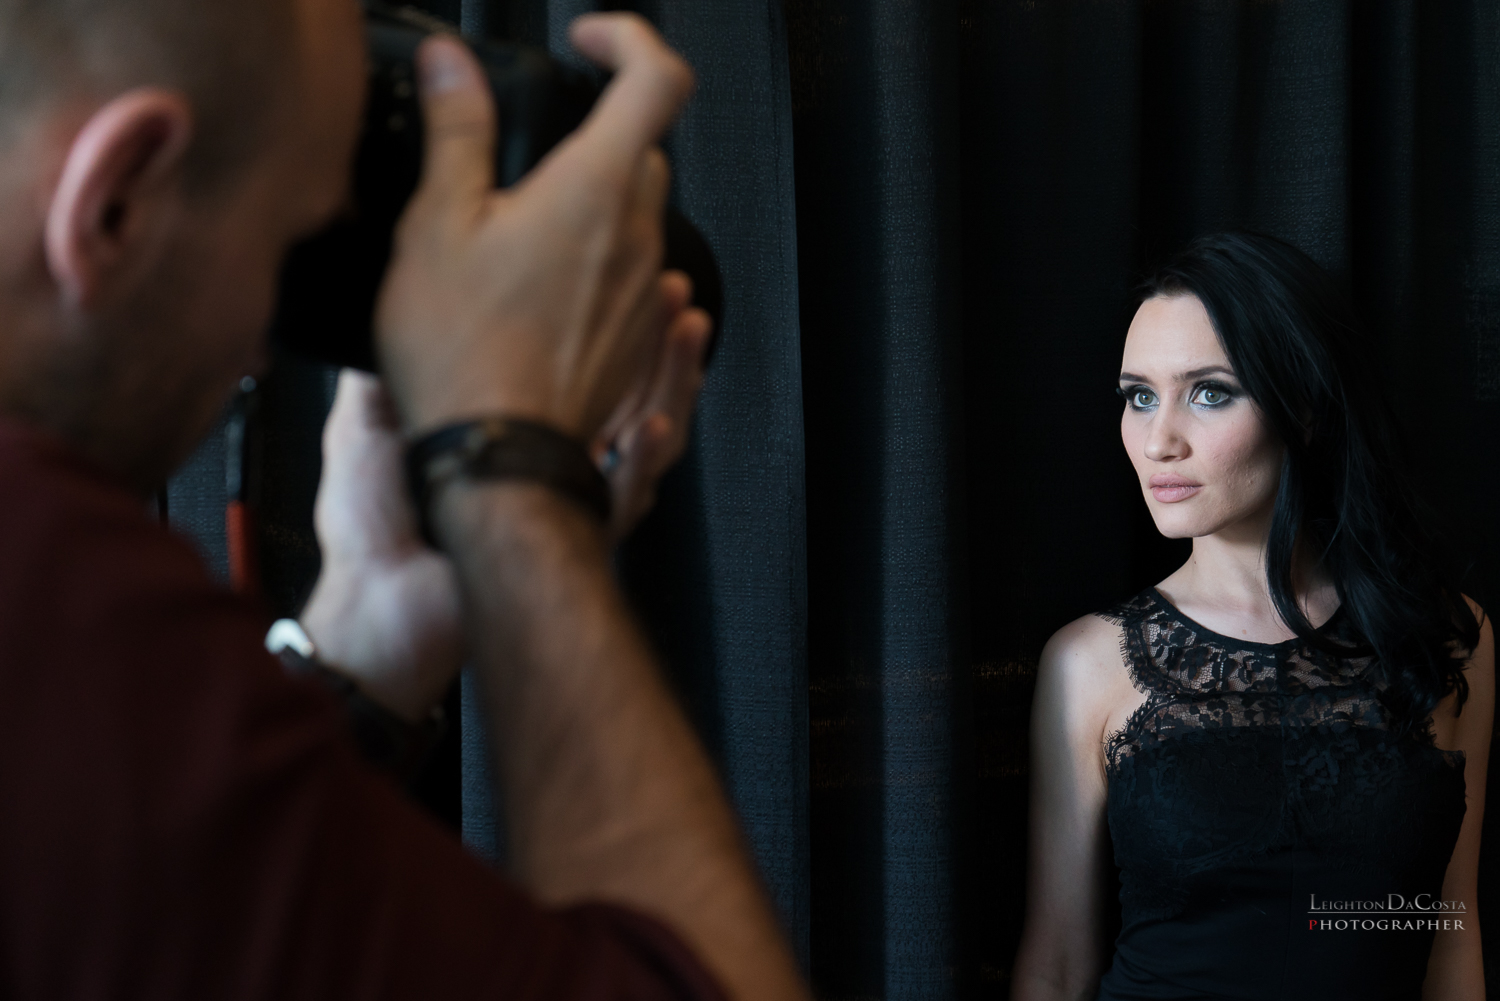
6 hours with International Wedding Photographer Mike Colon at WPPI 2016 | Leighton DaCosta. Miami Wedding Photographer.
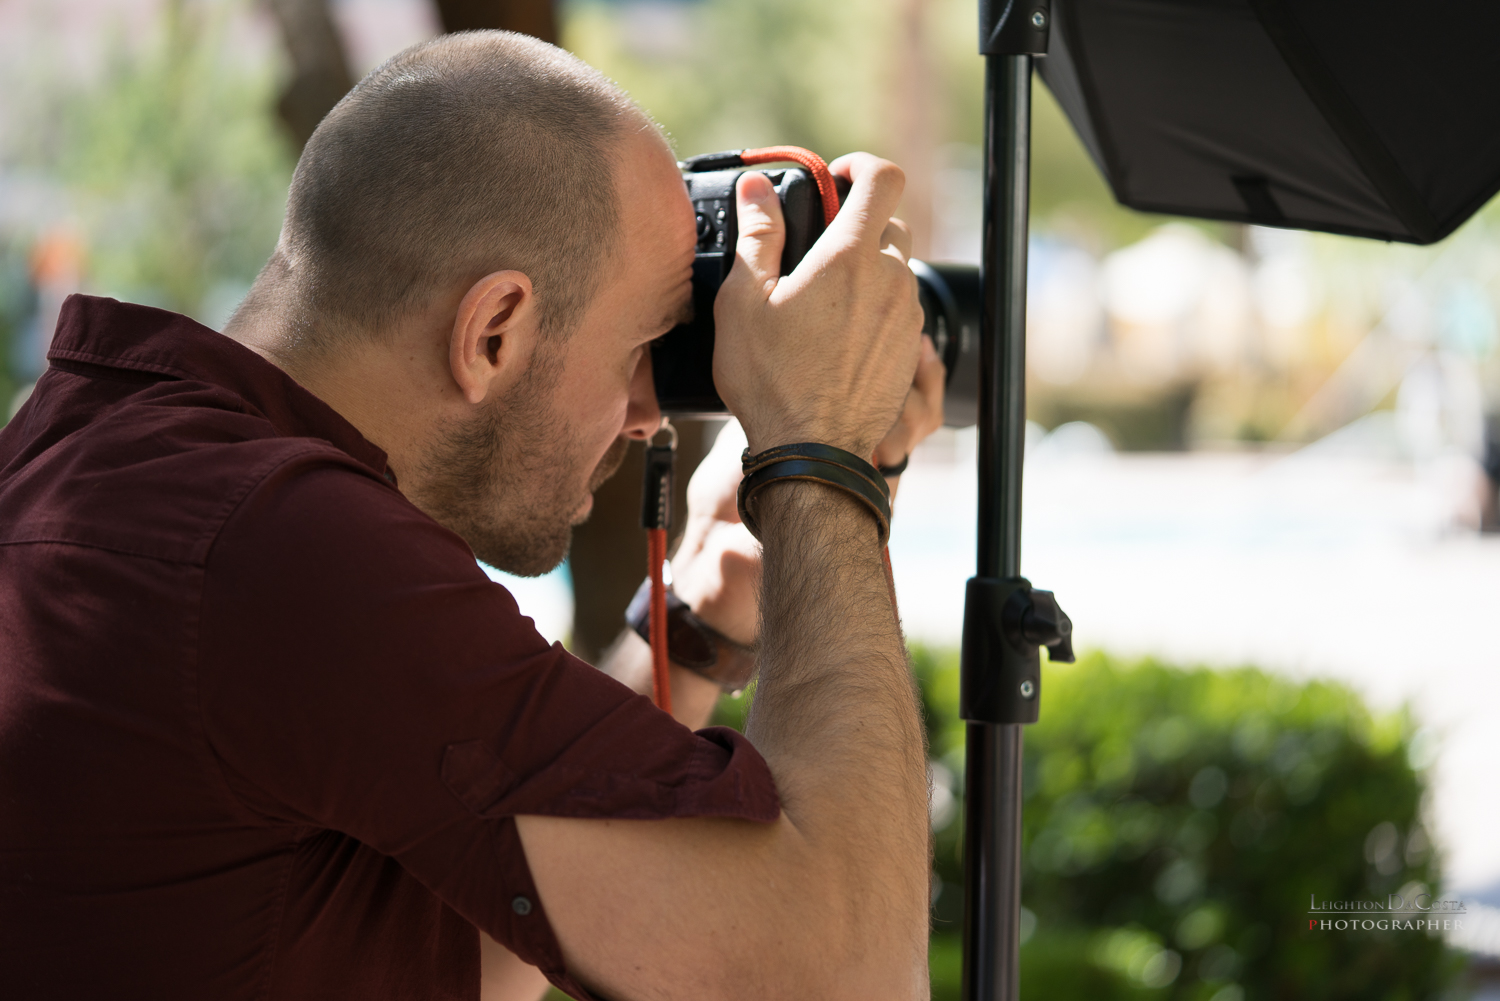
On the closing days of the Wedding Portrait Photographers International (WPPI) Trade Show, I was fortunate enough to attend a 6 hour Master Class with international wedding photographer Mike Colon. Mike is a photographer based out of Newport Beach California, who's work has graced many international magazines, clientele ranges from Usher to Mel Gibson, and extracurricular activities include Brazilian Jiu Jitsu. With a list of accolades that would tower taller than his 6' 2" frame, he is probably one of the most humble photographers I have met. I was really looking forward to his class. I won't go too much into the details of what was taught, but I will highlight a few things.
International Wedding Photographer Mike Colon doing what he does best, creating beautiful images.
Sponsored by Sony, the class was about being able to dial in your mirrorless camera for weddings. I am currently a Nikon shooter, but I have always had interest in mirrorless cameras, because of the minimal footprint of gear compared to the regular DSLRs from Canon and Nikon.
Going into the class, I already had reservations about mirrorless systems mainly because of the Electronic Viewfinder (EVF) lag and the huge battery drain. I felt that Mike would offer a unique perspective, because while now a Sony Artisan, he was once a Nikon shooter as well. I can understand now, why he made "the switch."
The first couple of hours of the class were classroom lecture to go over the menus and custom buttons on the Sony A7 series, which is Sony's professional line of mirrorless cameras. A camera that is feature rich, but button sparse.
I HATE MENUS, and the Sony has LOTS of them. I did enjoy the layout of the menus though. Mike walked us through each menu, and showed us what he did on wedding day to make it easier for him. Those who have photographed weddings, know that there is so much going on the day of the wedding, that if you are wasting time looking at menus, you might miss something important. After the lecture portion it was time to move on to the practical part of the class.
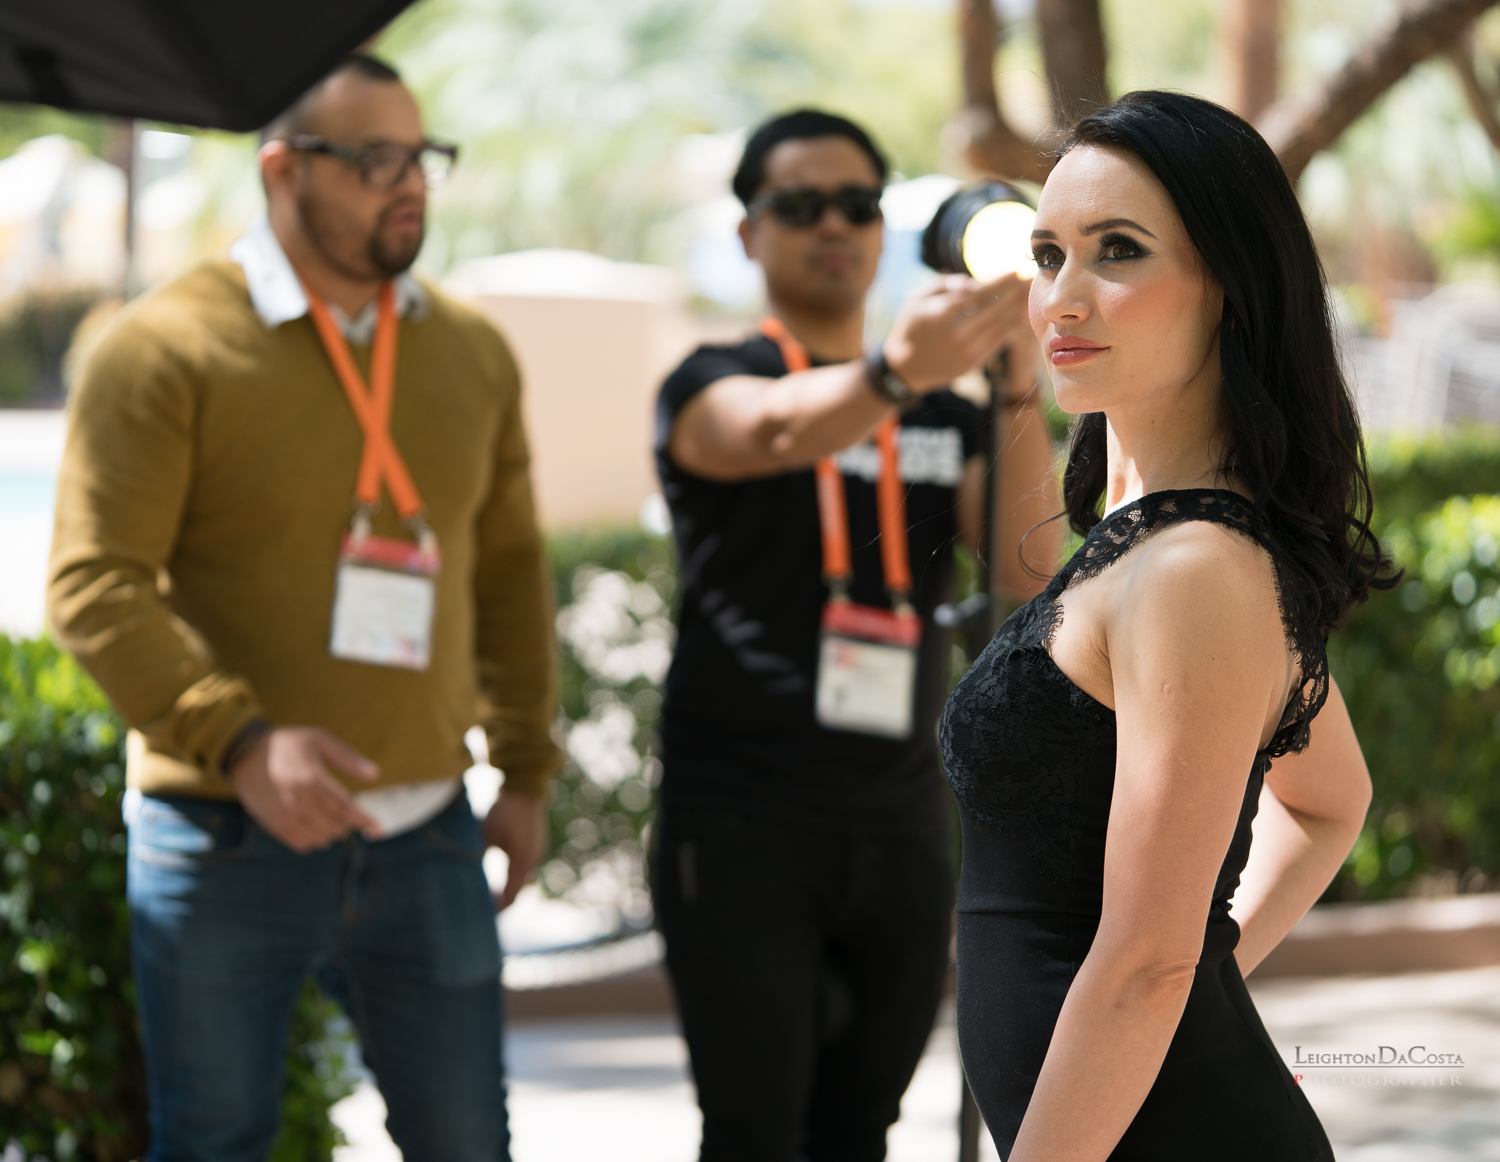
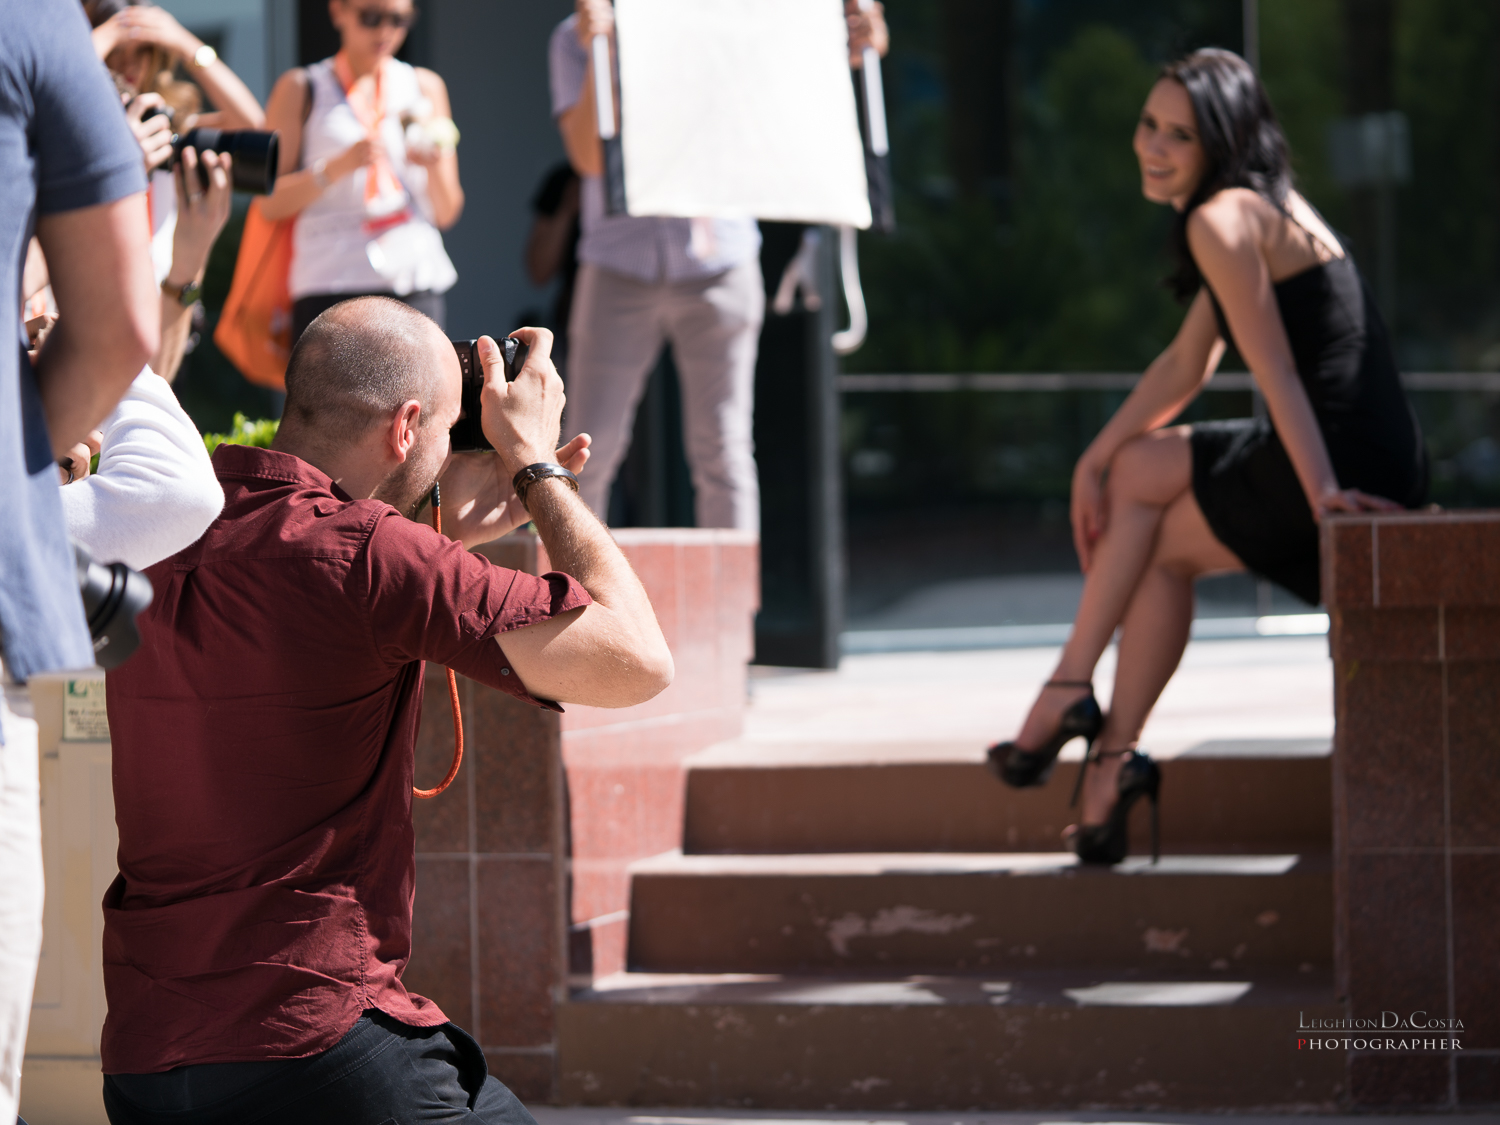
Mike Colon holds a speedlight that has been modified, while another participant captures the image.
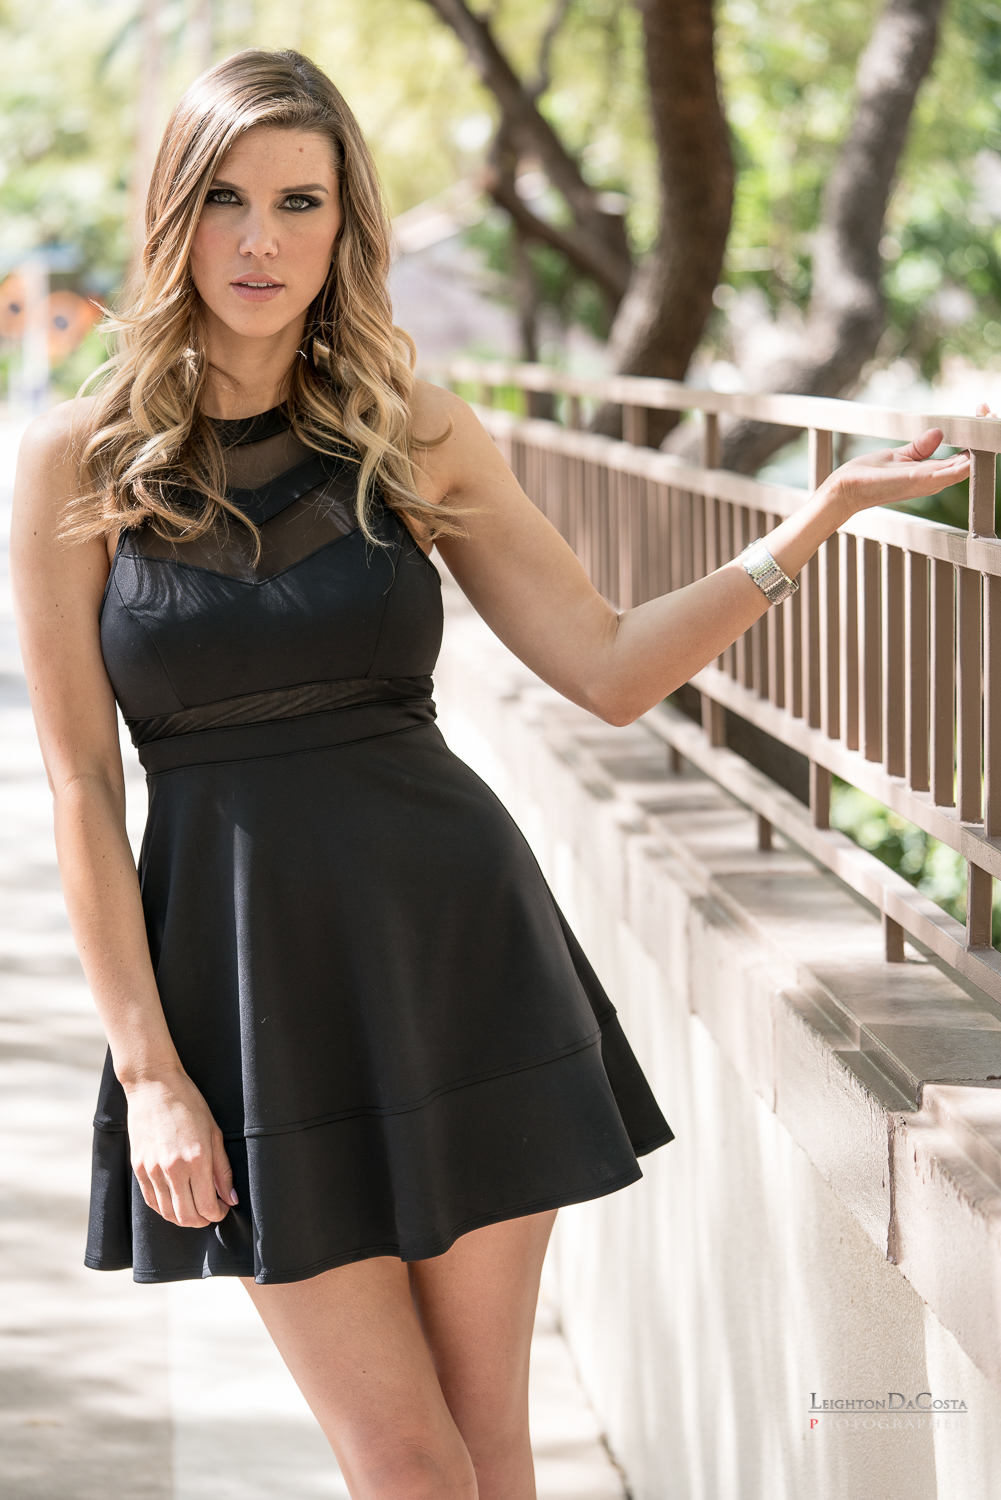
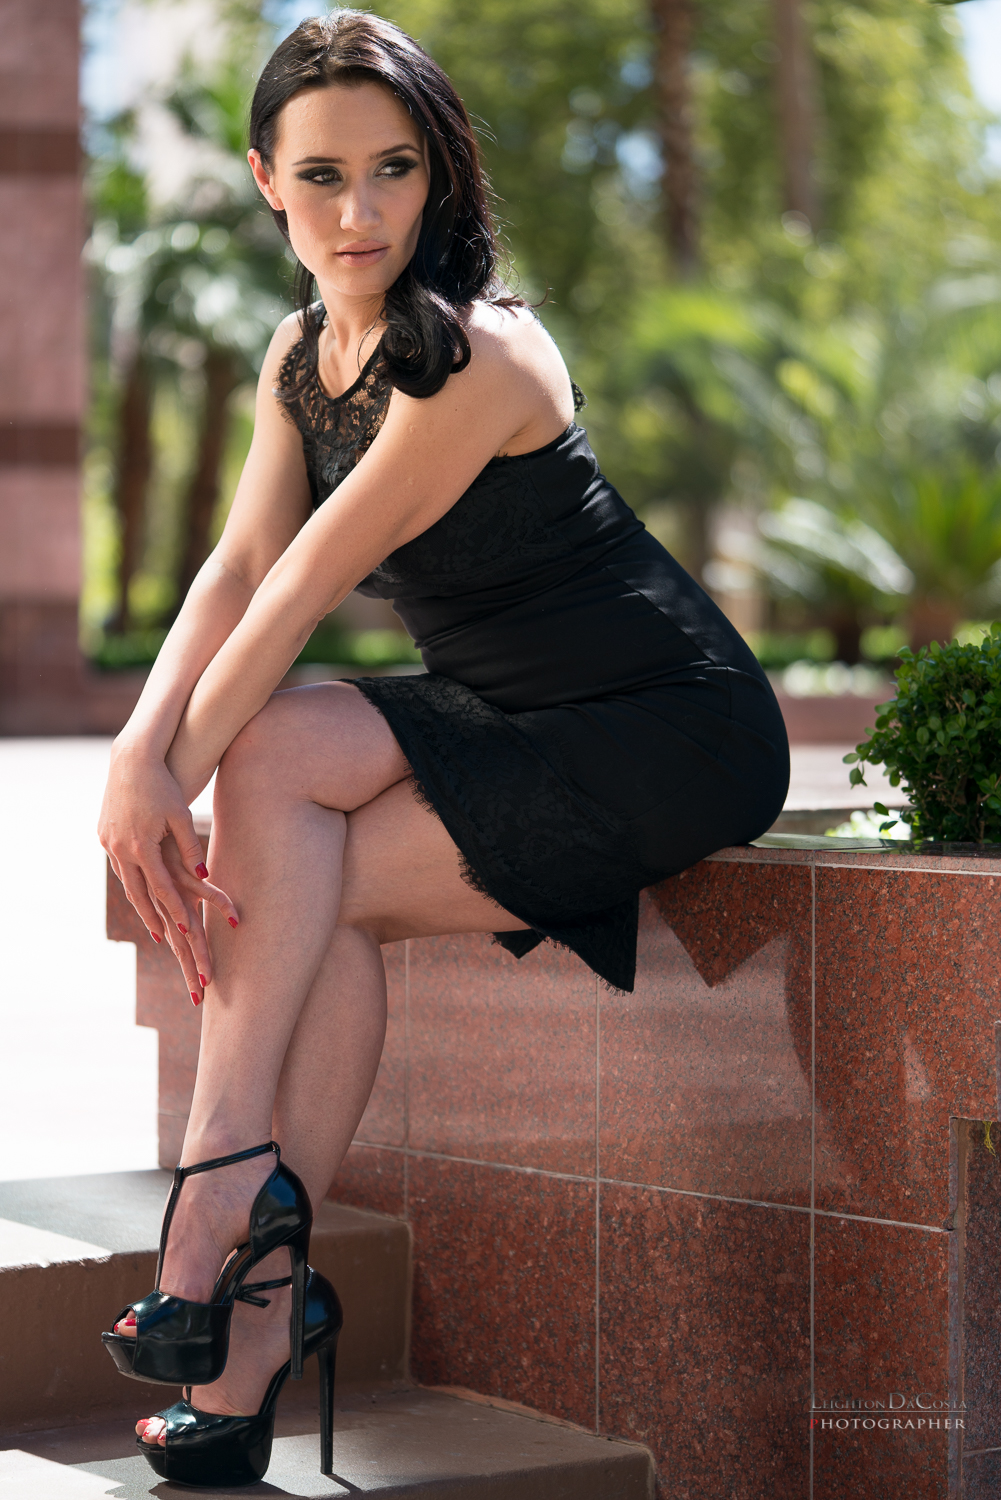
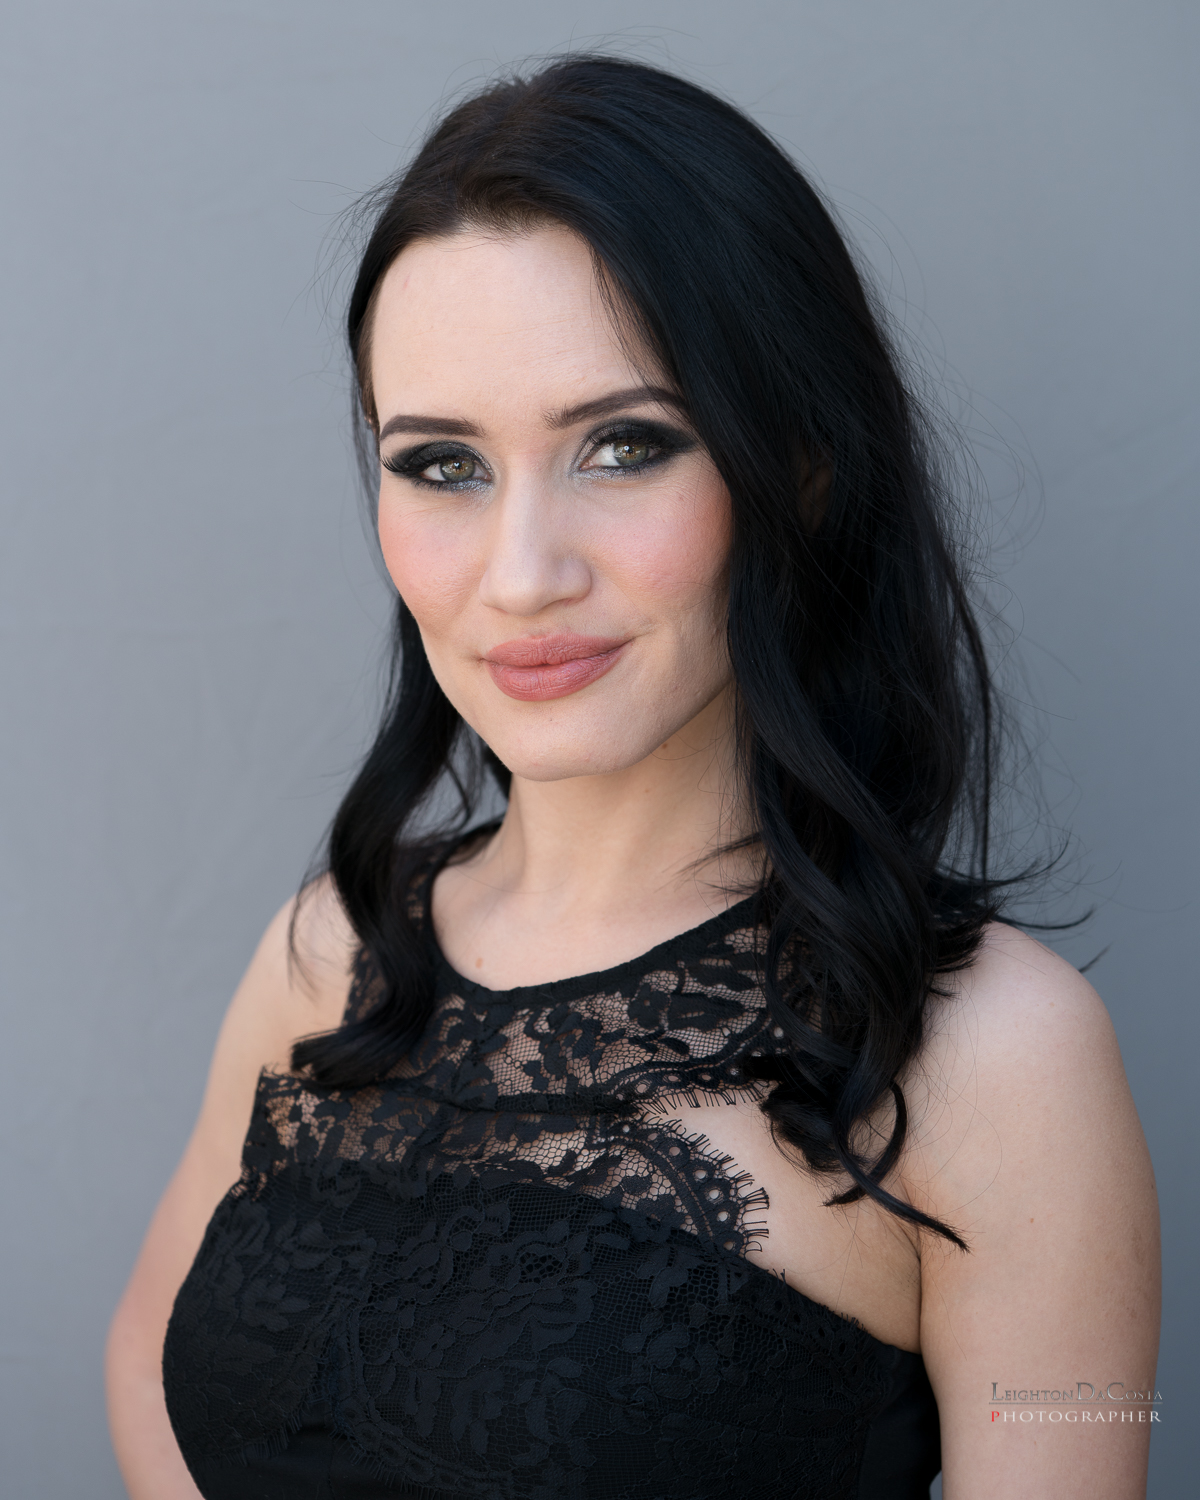
We went to the Sony PRO lounge where, we were provided with kits containing the new Sony A7RII Mirrorless camera. I was fortunate to have a 90mm f/2.8 G lens in my kit as well. (All images on this post are shot with the A7RII and are only adjusted for crop and color balance.) the other lens in the kit was the 55mm.
The practical portion reminded me of being in school where as soon as you went into the lab you forgot everything in the lecture. I was ready to throw the A7RII in the MGM Grand pool, but a few moments more the camera started to actually make sense. One of the cool things that Mike showed us was the focus tracking that the A7RII provides. I will say it blew my mind. While there were some missteps, it is a pretty reliable feature, able to track the models' movements with ease.
We had two beautiful models, although, I wish that we would have had a model "couple" to simulate more along the moments of a wedding. Nonetheless it was great to have such beautiful models. Thank you to 24 Seven Productions who provided the models and to Sony.

I see mirrorless in my future, and this class helped me move closer to that point. I loved the knowledge and hands on training that I got from the class. I learned a lot and would recommend to any photographer out there who attends WPPI in the future to take advantage of booking at least one Master Class or Plus Class. You wont regret it.
“One private lesson from an accomplished instructor is worth at least 10 group lessons.”


3 Photography Outsourcing Editors Compared | Leighton DaCosta. Miami Portrait Photographer
The Beautiful Aquisha Gross (Fayetteville, NC). MUA Brittney Taylor (Fayetteville, NC). Retoucher Dwight Smalls (Jacksonville, FL). Photographer, Leighton DaCosta (Miami, FL/Atlanta, GA) Dress provided by: Kony Fashion Forward (Burlington, NC)
About 7 years ago, I began to outsource my photographs to external editors. While a more costly process, this proved to be a more efficient process, where the benefits were in the consistency of the edits, and the time saved by ME not having to do the editing. For example, the first company I started with was PWD Labs out of Atlanta. The editing was consistent, communication great, and fast turnaround. I could literally photograph a wedding on Saturday and have the proofs ready for review by Thursday. What did that really mean for me? MORE TIME!
The average wedding takes about 20-40 hours of post work for most photographers to complete. Essentially working a second job of which you will not be additionally compensated for. By outsourcing, I could photograph a wedding on Saturday, cull and upload Sunday morning, enjoy the rest of the day with my family, and work on other projects come Monday, Tuesday, and Wednesday, then work on the wedding album on Thursday. More time means, more money. This allows me to put additional value into the service and products that I offer to my clients.
As a disclaimer, I am NOT sponsored by any particular retouching company...yet, but I am open to future sponsorship! Now that that is out of the way, I mentioned earlier that in 2009 I started with PWD Labs. Over the years, they grew into a company called POST. POST merged with Photographer's Edit, one of the companies used in this comparison.
Save 20% at Photographer's Edit by using the referral code: RefW9x6m56j
You can give them a try for free for up to 10 images.
You can also check out Picsera and give them a try as well.
For this comparison, I've placed the images in the order that they were received back from the editor.
The Original Image
The most crucial part of outsourcing, rarely has to do with the actual editor, but mostly with the image supplied TO the editor. The better the image quality, the better job the editor can do. I use Adobe Lightroom, which allows me to easily export and integrate retouched files. If you are using an alternative system, such as Capture One Pro, contact your editor and make sure they support your system. Most editors today allow for Dropbox transfer, where you can authorize access to a folder that is already synced with your images, which makes it fast and painless. Gone are the days of the FTP uplaod.
The unedited capture before processing. Technical: Nikon D810, Nikkor 70-200mm f/2.8 VR1 shot at 70mm f/4.5 1/500s ISO 64. Off camera lighting Profoto B1 in RFI 5' Octa Camera Left, Nikon SB800 Camera Left. Background Savage Universal collapsible backdrop.
THE INDIVIDUAL EDITOR
Retouched by Dwight Smalls (Jacksonville, FL). The benefits of a 1 on 1 retoucher. Proofing is part of the process. Often faster turnaround. More accurate the first times. The Cons, more expensive, less eyes during the QA Process.
The individual editor is probably the most convenient in the world of outsourced retouching. I went to Dwight Smalls, a great photographer out of Jacksonville, FL. Working with an individual editor is probably the most expensive option, but it gives you the most control over the entire process. For low volume sessions, that require heavy and detailed retouching, the individual editor is probably the better option.
I sent out all images on Monday, received proof, and final edit within 24 hours. For the record, the image was promised by Thursday.
Major changes. Softbox removed. Negative space added. Image warmed in the shadows along with adding a texture to the image. Dress wrinkles smoothed out. Waistline slimmed. Bra transparency removed. Skin retouched.
PHOTOGRAPHER'S EDIT
Retouched By Photographer's Edit. Beautiful Skin tones. Wish the dress was retouched.
I have always enjoyed working with Photographer's Edit (PE). The work is consistent and fast. 3-5 day turnaround. I used the flat rate retouching option which removed the softbox, worked the skin retouching, which I LOVED, and "brightened" the image. My only challenge is with the dress, left pretty much untouched, and the levels in the blacks, removing a lot of shadow detail.
Major work. Softbox removed. Skin retouched. Image brightened.
PICSERA
Retouched by Picsera. Very natural edit, The dress is retouched. Wish the black from the bra was retouched.
I really enjoy the growing relationship I have with Picsera. Very straightforward pricing, good customer service, and a constantly evolving platform. I also used the flat rate option on this edit. The only drawback is that Picsera's turnaround is around 4-7 days on average. I must say, that between the two companies, I loved this version more, because it is closer to my style. While the flat rate pricing for Picsera is more than PE's, the results show.
Major work. Soft box removed, Shadows warmed, Skin Retouched, Dress smoothed, waistline accented.
CONCLUSION
For near perfection, I would say that the individual editor would be my first choice. Both Photographer's Edit and Picsera do offer an individual editor option that is priced per hour. I do like Photographer's Edit's option to where you can let your editing fit your budget. You can "name your budget" and it gives them the opportunity to estimate and accept/reject your offer. Value is based on what you get for what you pay. While I won't go into specifics, Photographer's Edit was the lowest. Picsera was about 40% more, with Dwight being about 200% more than Picsera. While I would love the turnaround to be as fast as the Photographer's Edit or Dwight's, the overall edit and experience is great. For that reason, the winner for me is Picsera.
Do you agree with me?